Cap Embroidery Machine
3D Embroidery Costs and ROI
How much can you make with a cap embroidery machine?
Custom embroidered caps are BIG business right now, and 3D embroidery on caps is at the top of that game.
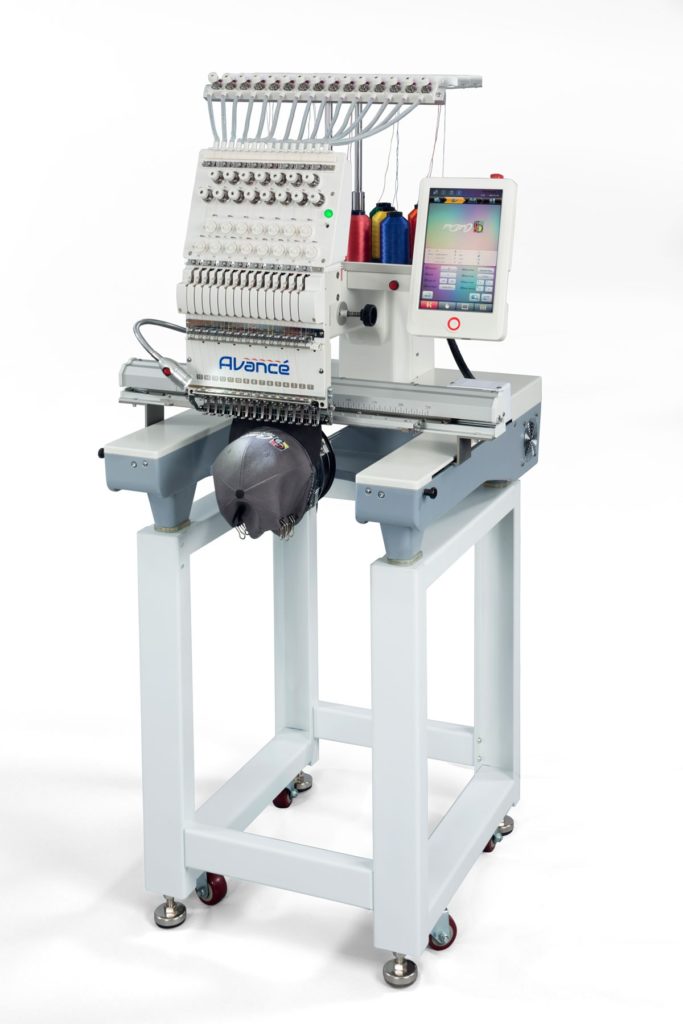
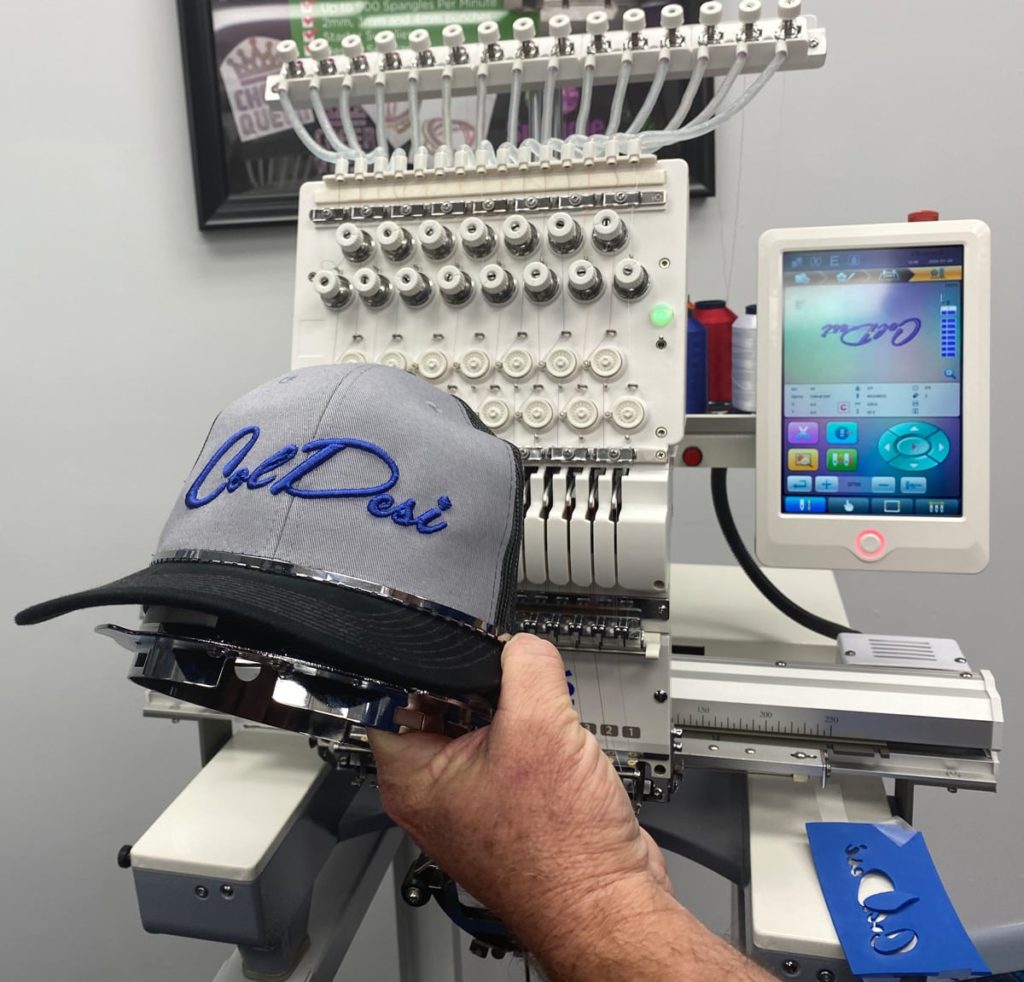
Using the new Avance 1501C from ColDesi, we’ll give you the inside scoop on what it takes to make a super-profitable custom cap – and just HOW profitable that can be.
There are 3 Steps to Cap Embroidery:
Step 1: Design
Step 2: Sew Out
Step 3: Finish
Step 1: Designing for Cap 3D Embroidery
Designing for embroidery of any kind is called “Digitizing.” If you’re doing it yourself, you would start with a graphic or customer logo as we did for this example, and then either convert it to an embroidery file or have a service do that.
Most people getting into the custom cap embroidery business with the Avance 1501C commercial embroidery machine opt to get Liberty digitizing software along with it – and that comes with training too.
But there are a few things that you need to know about 3D embroidery on caps specifically:
You MUST design it to be embroidered from the middle of the design out. That’s different than the usual design process for a flat item. You do that so it is perfectly centered on the cap, handles the middle seam better, and fights any movement during embroidery.
You have to design for using 3D Foam. To make a 3D design, you sew the foam onto the cap. It’s hidden under the stitches for the most part, but it does require you to put specialized digitizing into your design to accommodate the foam.
Because 3D embroidery is a little different than your standard left chest logo, many experienced embroidery pros will send out their 3D, or even all their cap designs, to a digitizing specialist.
For our return on investment example, we used our ColDesi-Graphics.com services.
That process went like this…
Hiring a Digitizer for Caps
We sent our full ColDesi logo to the team at coldesi-graphics.com and asked them to pick out JUST the text “ColDesi”.
Our instructions were that it was for a six-panel trucker hat, that we needed it in 3D and that we’d like it done in one of the Royal Thread colors.
ColDesi-Graphics.com is a premium service. So, they don’t just do the designing/digitizing on-screen and send you a file to test. The actually SEW OUT THE DESIGN! Make changes, and Sew it out Again.
That’s hugely valuable!
Here’s the picture they sent of the sew out three days later [we could have rushed it, but there was no need].
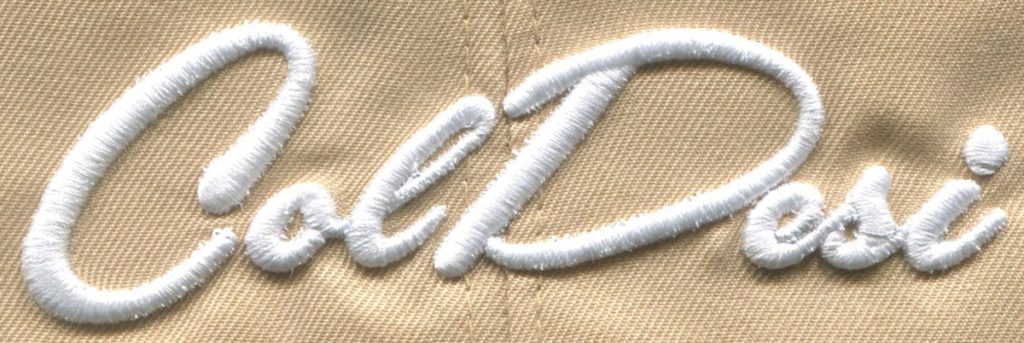
So you can see the depth, the color we had requested, and that it sews out beautifully.
When our embroiderers sewed this onto a cap it was perfect the first time.
The actual design/digitizing cost was $36.08. That included their test sew out you see above. Some companies charge for this separately and some incorporate it into the original job cost. For this RO (return on investment) we’ll assume a separate charge for it.
We now use our ColDesi-Graphics service for 99% of our digitizing!
Step 2: The “Sew Out” – Sewing onto the Cap
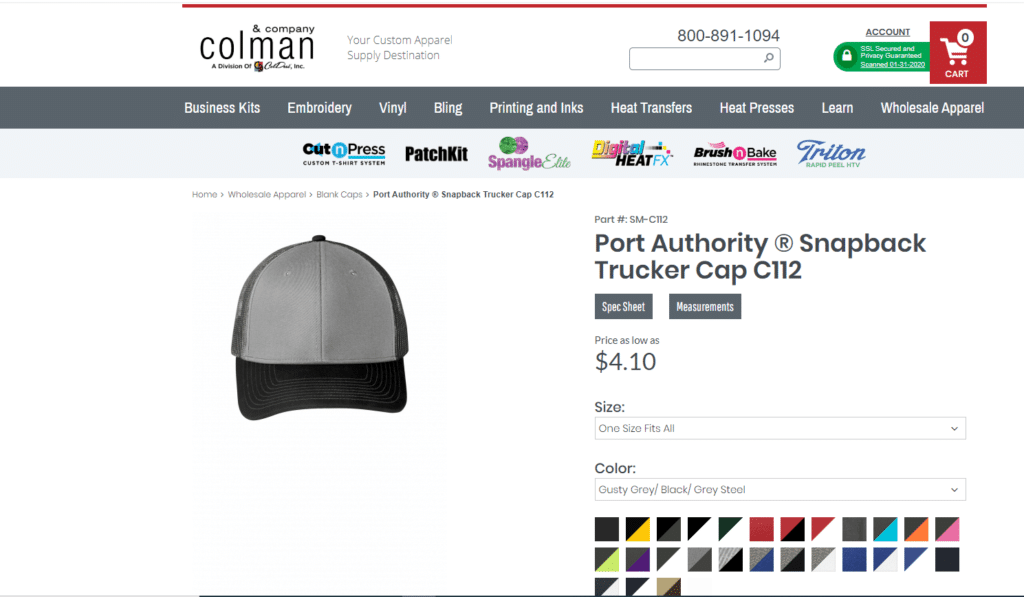
In addition to quality digitizing, you also need a QUALITY cap. You’ll see the part number in the ROI profit calculation, but we bought an excellent six-panel hat from colmanandcompany.com for $4.10.
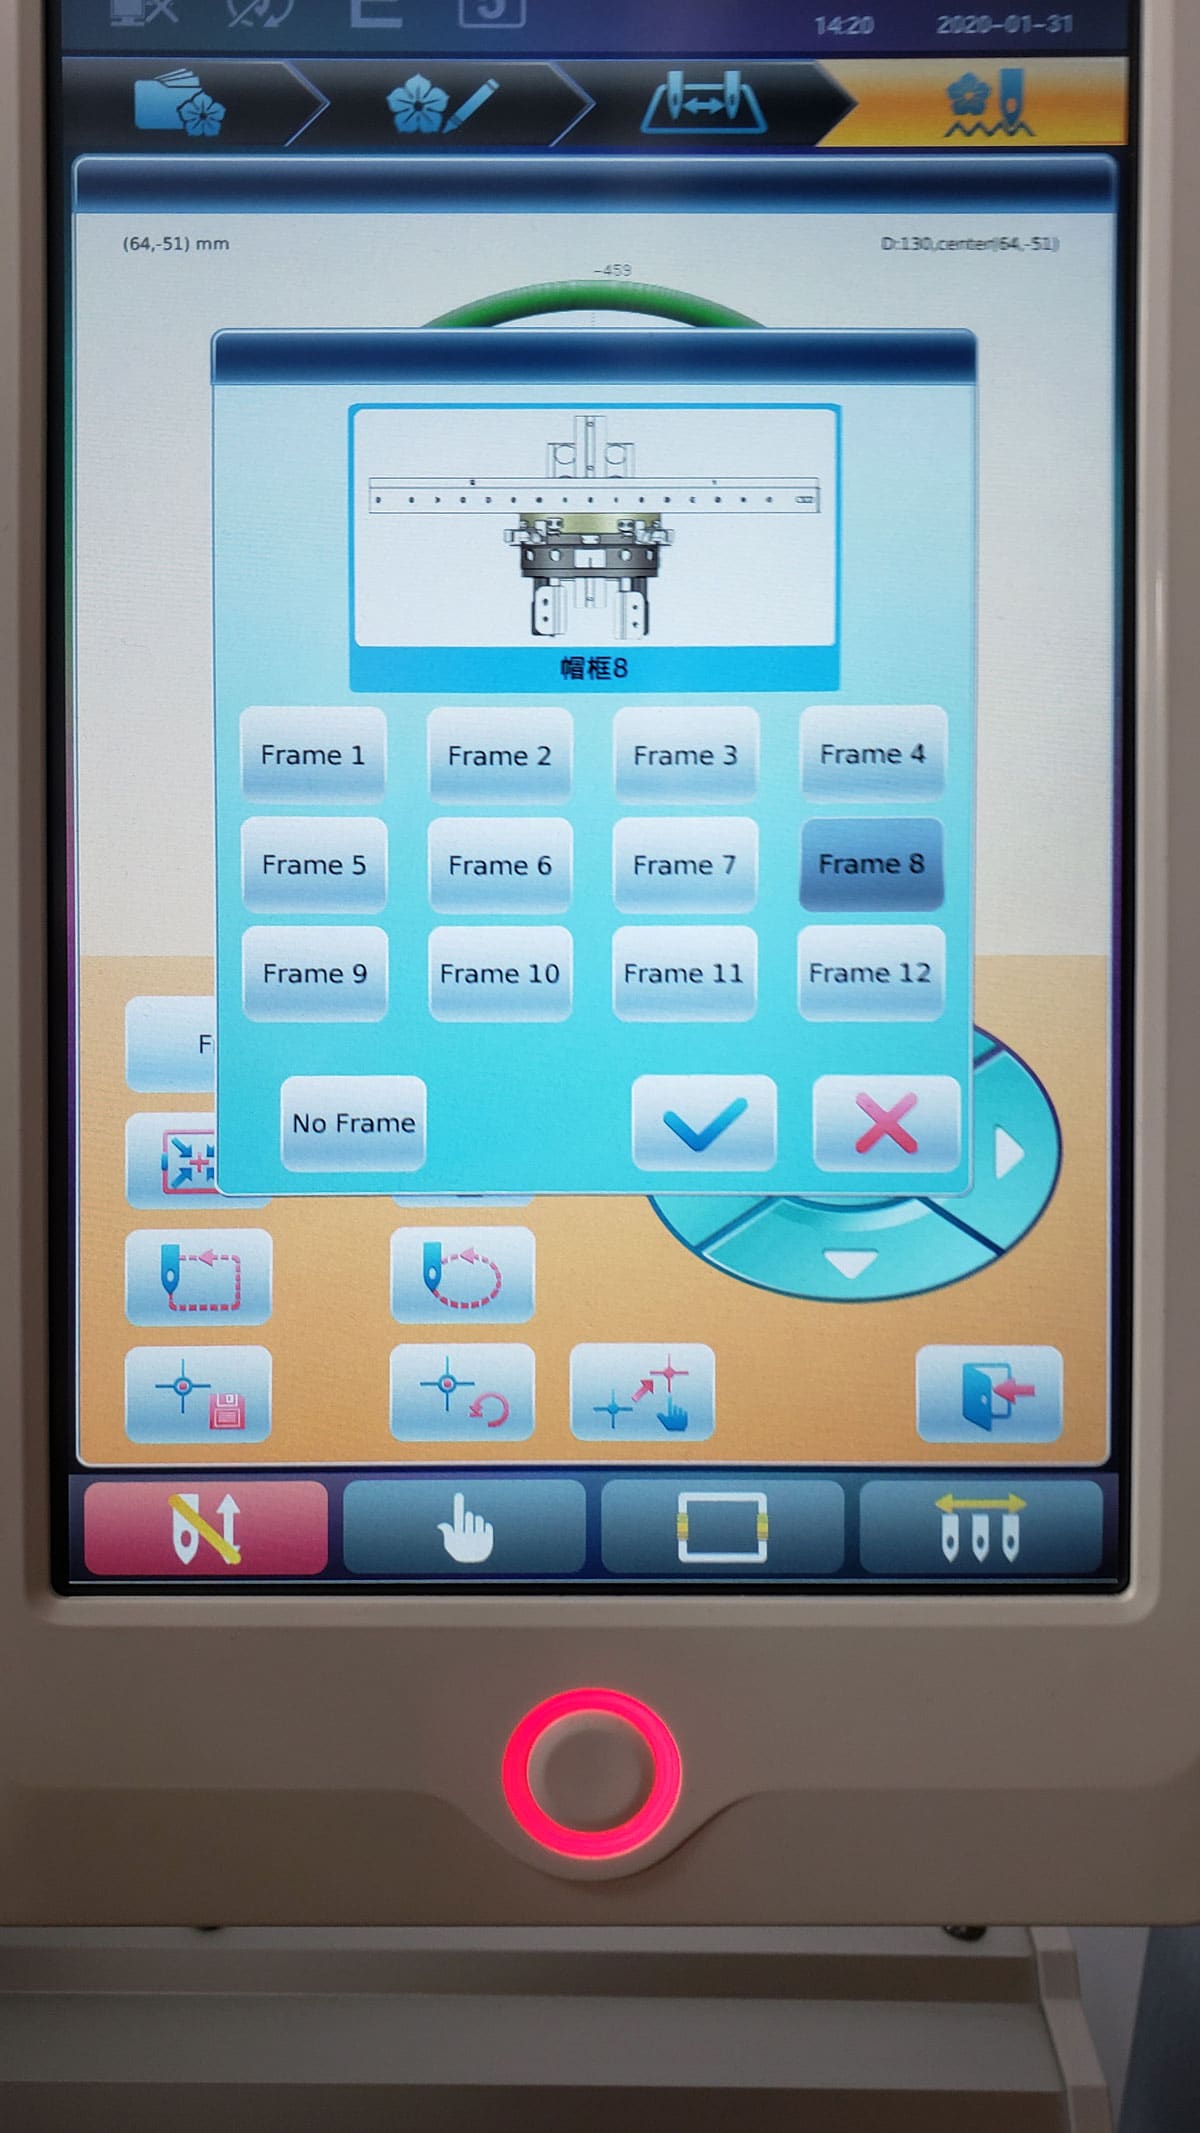
The Avance 1501C comes with 2 Cap Frames, which are the hoops you use to embroider on caps. For hooping, you will need to tear away cap backing, 3mm foam a similar color to your thread and some tape. So you would “hoop” your cap as shown in the webinar video below and load it onto the machine.
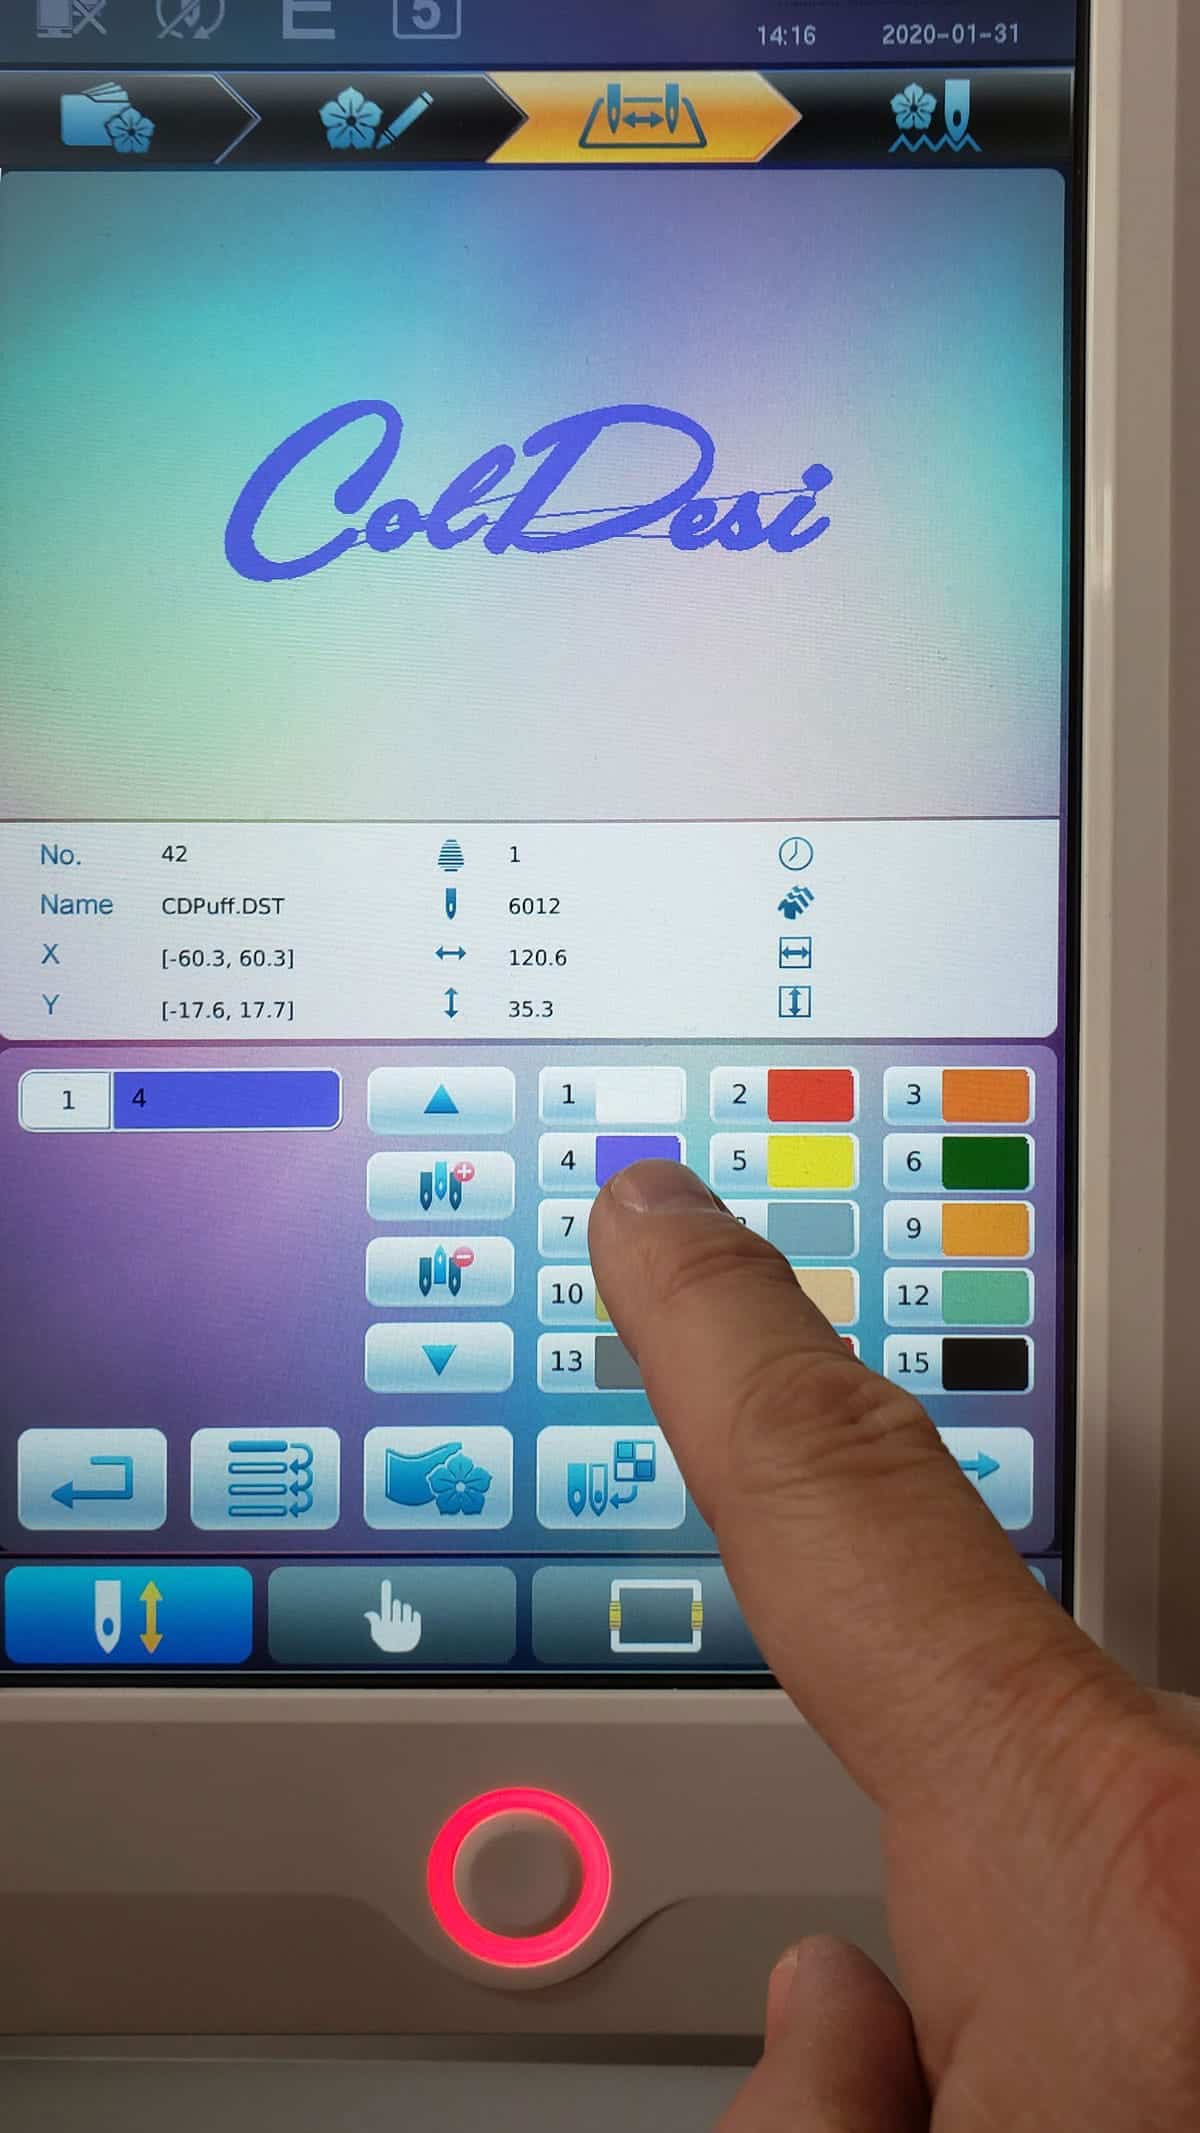
On the full-color touch screen, select the cap hoop, then select your thread color (we chose a Royal brand blue polyester thread, and then trace your design.
Once you hit the start button, it takes around 10 minutes to sew out this particular design.
Here’s where you can really tell the quality of the digitizing AND the embroidery machine. The Avance 1501C cap embroidery machine sewed out the design on the first try, no thread breaks, easy-peasy.
Step 3: Finishing a 3D Cap
After the design is sewed out, you’ll want to remove the excess 3D foam.
You simply tear away the outside, then use tweezers or your fingers to weed out the inside of the letters like the “e” in ColDesi.
One insider trick that we use is finishing with a heat gun.
All of our Royal thread is polyester, and the 3D foam is subject to heat, so we point a heat gun at the finished product sometimes to pull everything together.
That was not done to any of the examples shown here.
Once all this is done, you are ready to deliver your custom cap with 3D embroidery!
About Production
The Avance cap embroidery machine comes with TWO cap frames.
So while you’re first cap is sewing, you can hoop up the next one. That workflow looks like this:
Hoop cap #1 – hit START
While that’s sewing, hoop cap #2
When cap 1 is finished, take it off the machine and put on cap 2.
While cap 2 is sewing do your finishing on cap 1 and hoop cap #3.
This way, you’ll complete multipiece orders faster.
Custom Caps ROI – How much can I make doing 3D Embroidery?
Let’s run the numbers for exactly how much you can make doing this kind of cap embroidery.
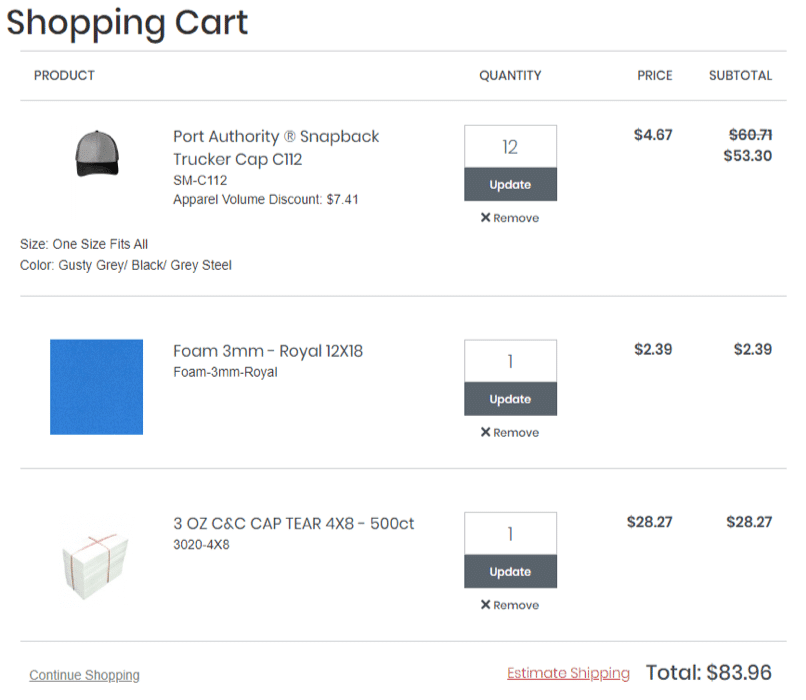
We’ll use a 12 piece order as an example and start with just the material costs. Then we’ll look at paying for your equipment and ROI [return on investment]:
Trucker Cap: https://colmanandcompany.com/SM-C112.html Cost $4.10 each
For a 12-piece order, you’ll need 12 caps for a total cost of $53.30
3mm Foam 12″x18″ https://colmanandcompany.com/Foam-3mm-Royal.html $2.39
This will be more than enough Foam for this job. You should have enough to do about 10 more caps left over if you’re careful.
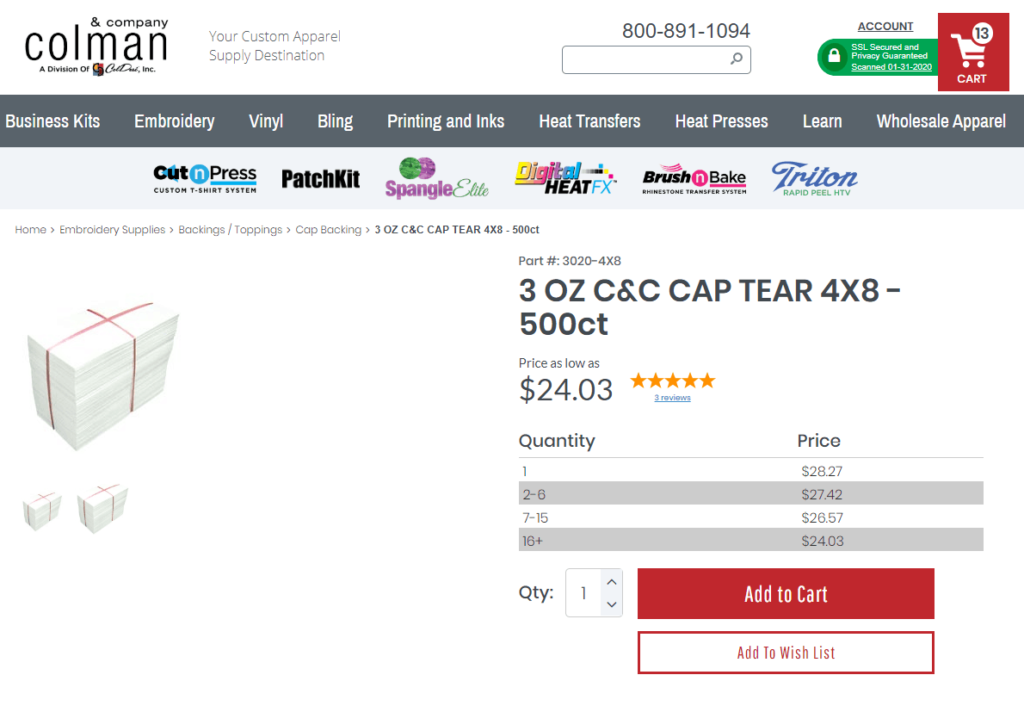
3 oz Cap Tear Away Backing https://colmanandcompany.com/3020-4X8.html $28.27
500 pieces of this pre-cut backing will serve your cap embroidery business for a LOOOONG time!
The ORDER you’ll need to place is $83.96, but you’ll be using a fraction of the supplies. So the actual job cost is going to be:
Backing: $.68 (because you’re only using 12)
Foam: $1.43 (about 60% of your foam will be used)
Cap: $53.30
ACTUAL JOB MATERIALS: $55.41
How much can you charge for a 3D Custom Cap?
..and how much can you make…
Every market area and niche market is different. But when we looked around our local area, and the internet, we found that many custom 3D embroidered caps sold for around $25.00 each for a 12 piece order.
So here is how the basic Gross profit numbers will work:
Sale price $25.00 x 12 caps = $300 in revenues
Cost of Goods =$55.41 from our calculations above.
Gross profit is $300 – $55.41 = $244.59
How LONG will it take to embroidery a cap?
As you can see from the webinar video on the Avancé 1501C, it takes about 13 minutes to embroidery the “ColDesi” script logo in 3D onto that cap. We will round up to 15 minutes each to make it easier.
12 caps x 15 minutes each = 3 Hours of embroidery time.
If you are doing this yourself, you’re per hour profit on this work is almost $81/hour.
[Don’t forget to subtract the cost of your digitizing if you did not charge for that separately]
You earn $81/hour
Of course, you have other expenses that we can’t estimate here. Like rent, paying employees, taxes, etc, but you now have a real idea of how much you can make.
3D Cap Embroidery Machine Return on Investment
Now let’s break down the ROI or return on investment for an Avancé Cap Embroidery Machine (that’s EVERY Avancé by the way!)
Let’s say you chose an Avancé package that was an investment of $11,940.00. This may vary depending on when you’re reading this and changes in bundles, etc.
Now, here’s the magic of Return on Investment calculation when you’re working with equipment like the Avancé from ColDesi:
If your new machine costs $11,940 and this sample 12-piece job makes you $242.91, then you need LESS THAN 50 ORDERS like this to pay for your machine!
This work took you 3 hours to complete – so 50 jobs will take you 150 hours or less than one month of 8-5, workweek labor to pay for.
The monthly cash flow on financing an embroidery machine is even better! ONE good job could make your payment every month.
Embroidery Machines | Caps and 3D Embroidery Business
Something you need to understand here as well is that the Avancé 1501C is not going to restrict you to just embroidering on caps or hats. You can do anything you can do with the best embroidery machines on the market, including:
- Company polos
- Jackets
- Fashion
- Sleeves
- Uniforms
- Pillows
- Table Runners
- Car Mats
- Backpack
- Gift Items
- MORE and MORE and MORE!